
Panelling the walls
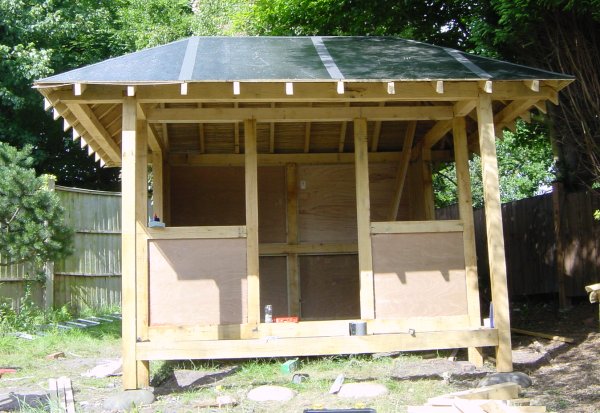
Now comes the job of filling in the walls before thinking about the floor and shojiis. The wall inserts are doubled skinned - the outside being 10mm exterior plywood while the interior will be oak faced plywood.
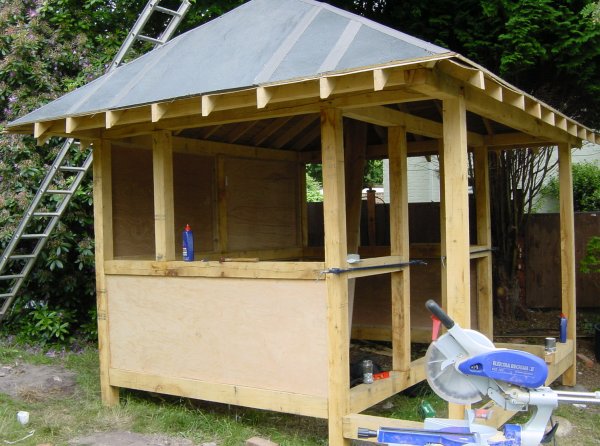
The first side panel is in!
The four back panels
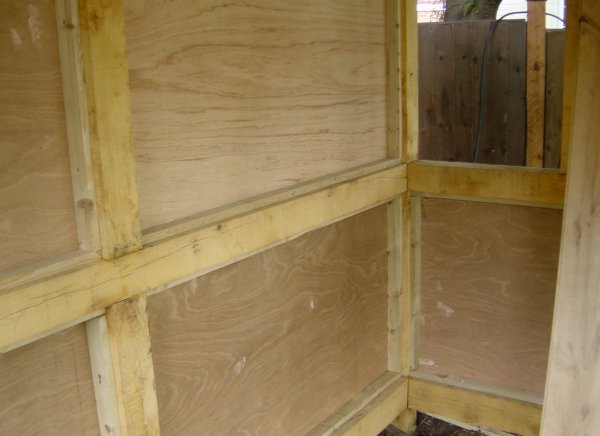
Showing the 47mm x 22mm spacers
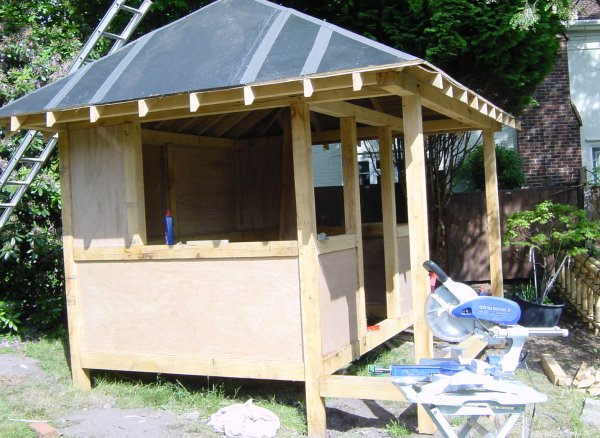
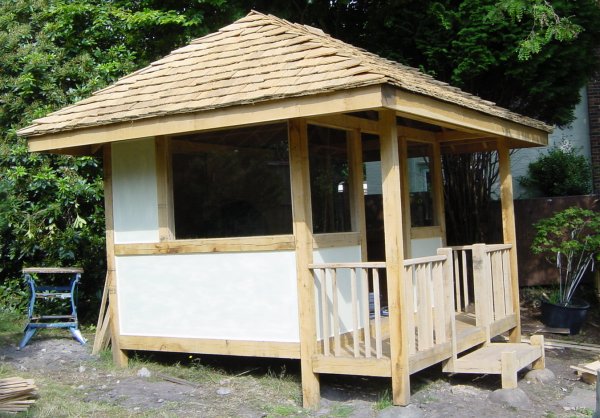
The last ones now in place
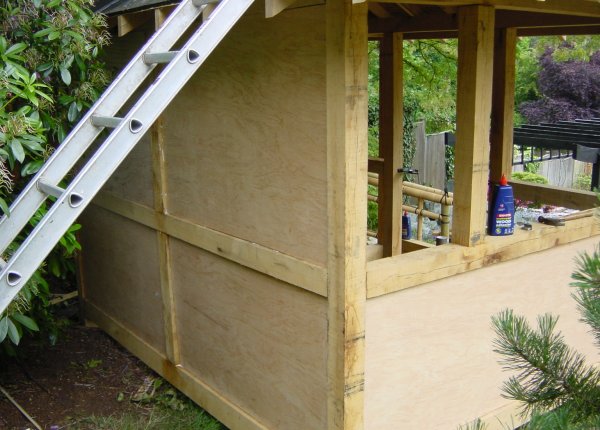
The wall panels from the front

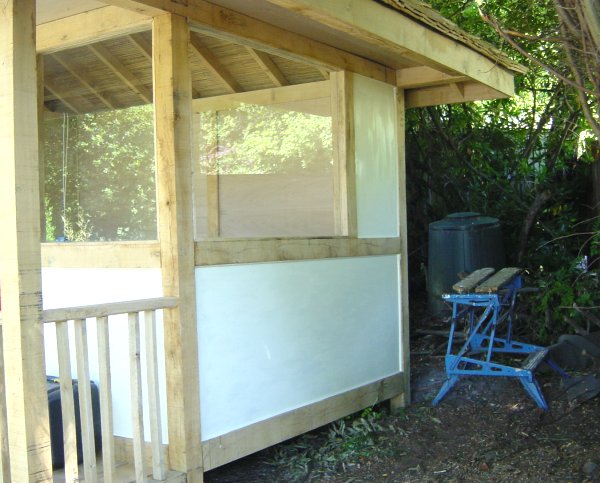
All the corners of the panels have been edged with 16mm quadrant
The left-hand side panels painted
The right-hand side panels painted
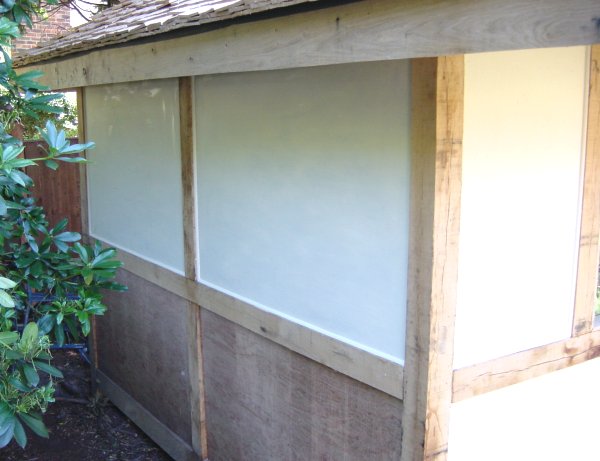
Starting to paint the back panels