
Teahouse floor construction
Now's the time to fix the floor. The first job being to lay the 4" x 2" softwood floor joists.
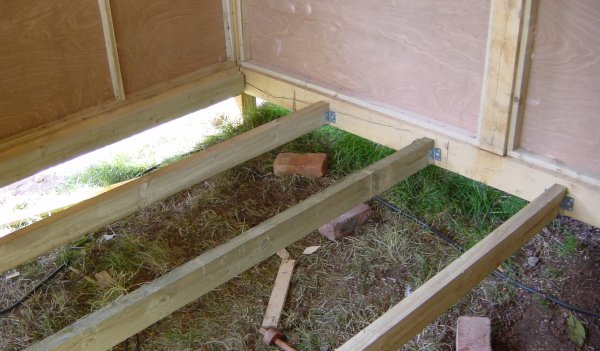
Seven joists were used fixed by galvanised brackets made for the job
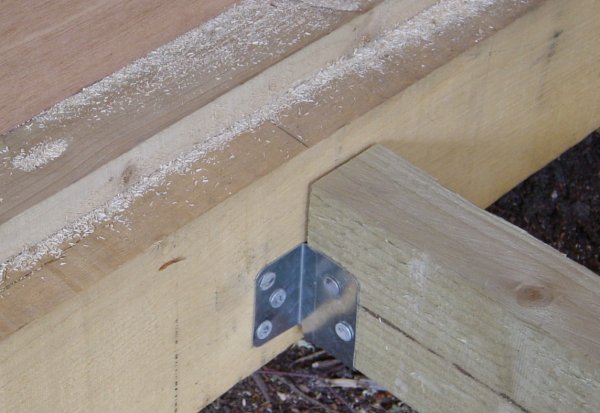
Close-up of the joist mounting brackets
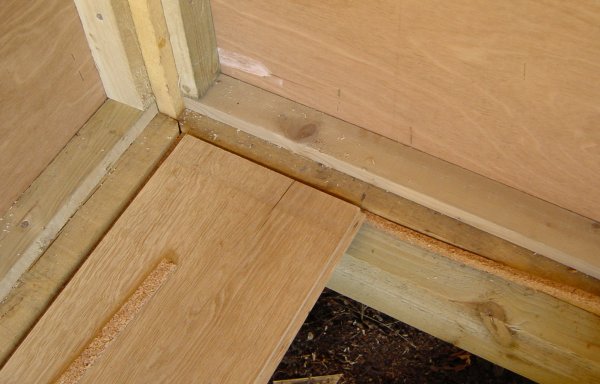
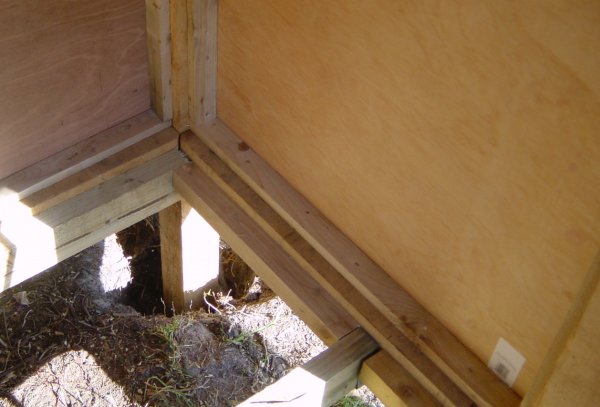
The space between the joists were filled with 2" x 2" noggins
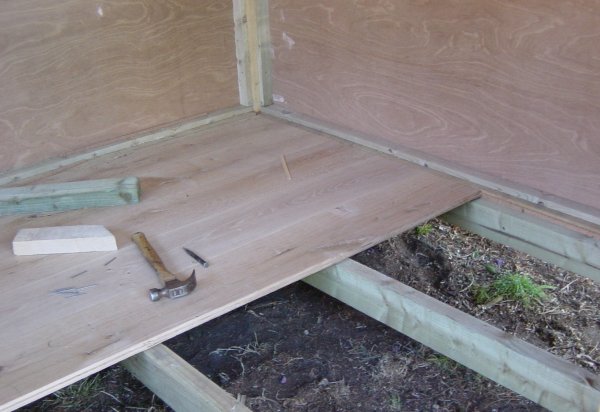
Each 8" oak floor board is nailed down separately with cork strip
around the edge for expansion.

Ready to start nailing down the boards
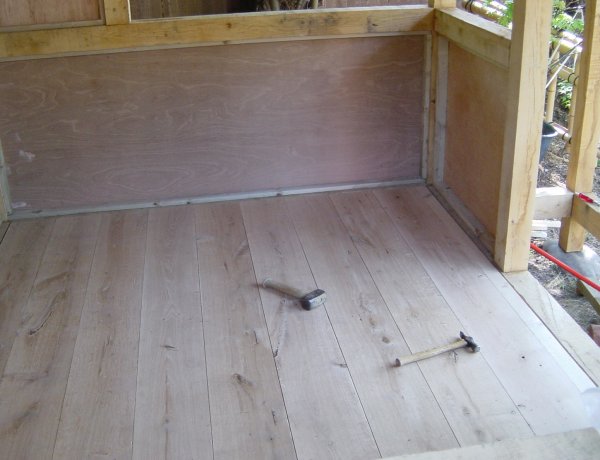
The continuing the story of the floorboards...
The first floor nailed into place using hidden nails
Done - phew!
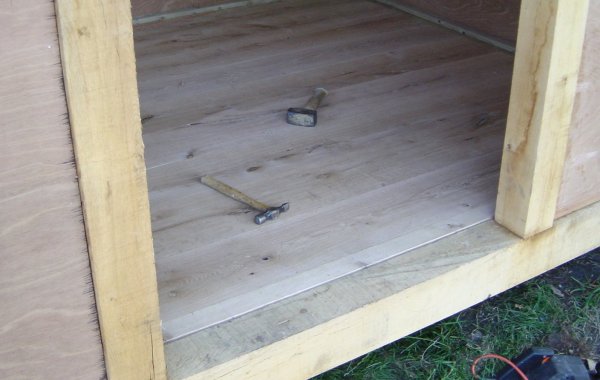
The oak floor as seen from the entrance