
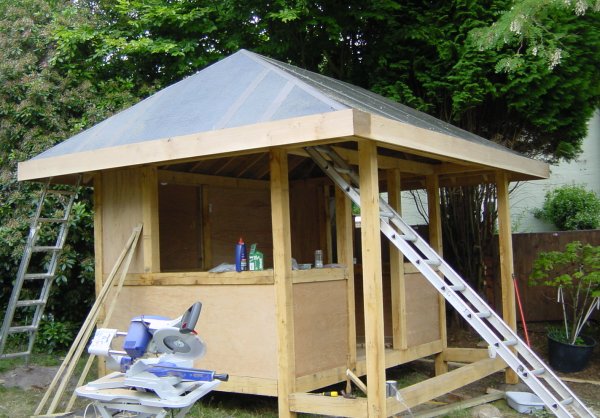
Teahouse roof assembly - stage 2
The inside of the roof is covered in split cane fencing. This will be covered in bitumen-covered roofing chipboard on to which will be nailed the oak shakes. All of the joints of the bamboo is hidden behind the joists so that they cannot be seen when inside the teahouse.
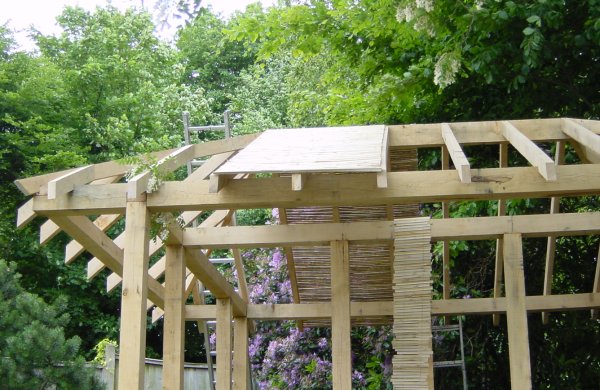
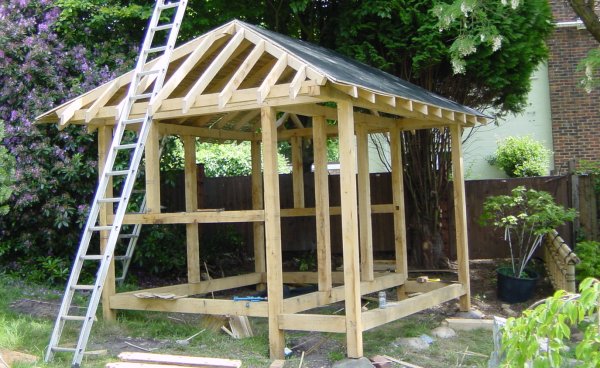
The first bamboo strip laid across the roof.
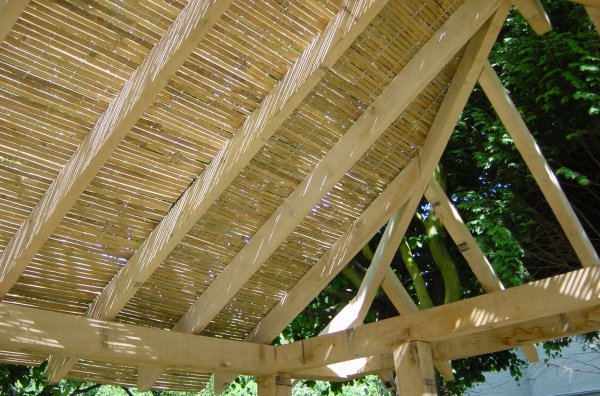
This is what it looks like from the inside - not waterproof yet!
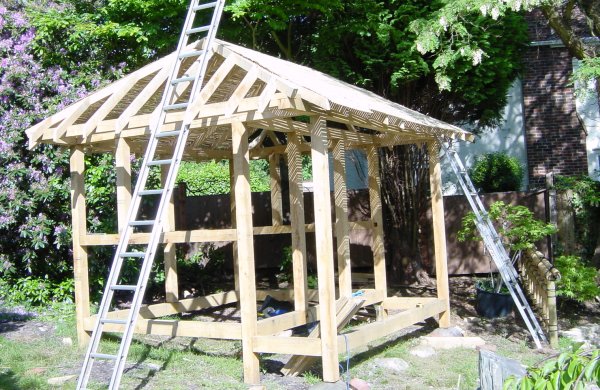
The front and back covered in bamboo liner
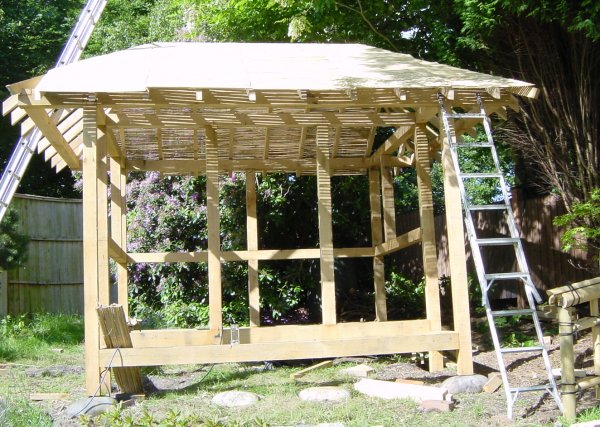
The front and back covered in bamboo liner
Now comes the difficult bit!
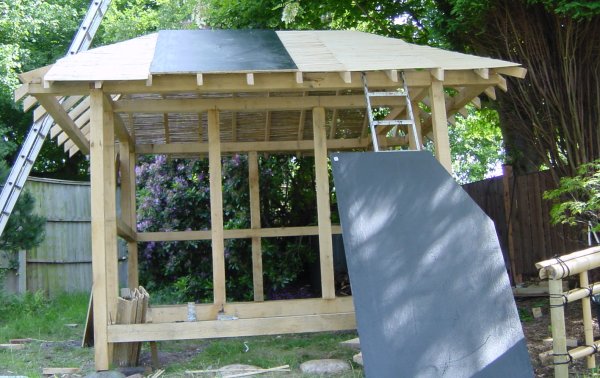
Applying the bitumen coated chipboard. Now, this IS difficult!
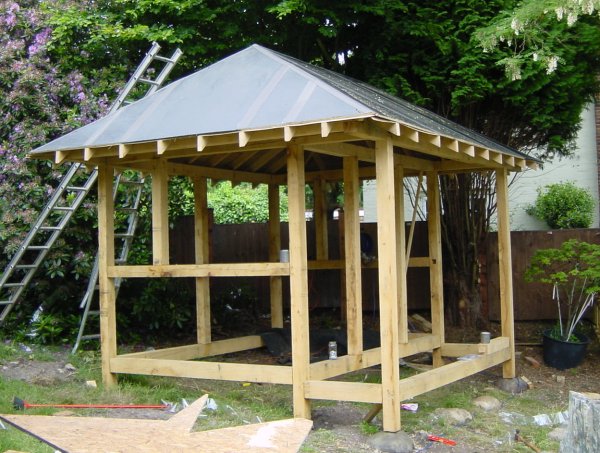
Front and back now covered
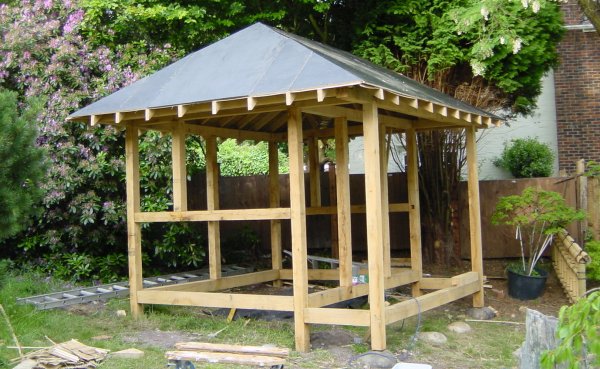
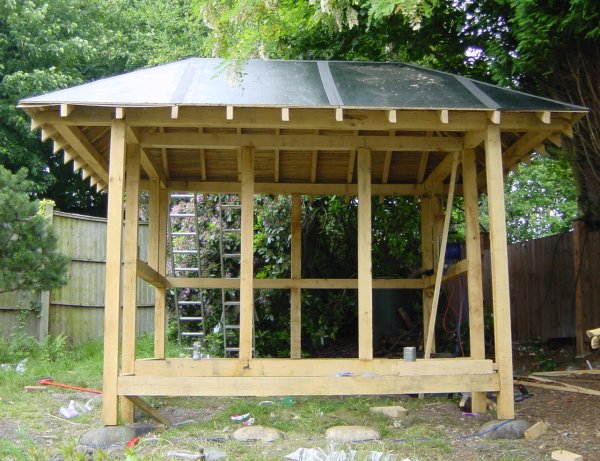
All four sides done
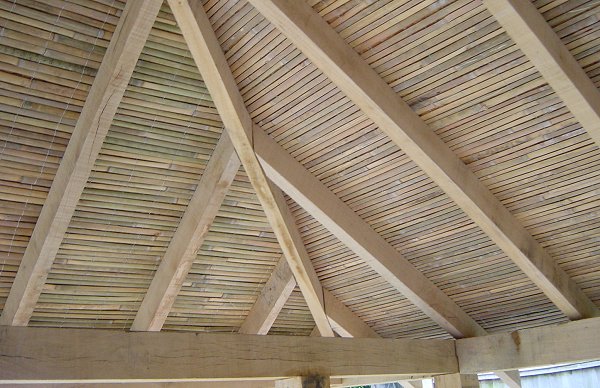
From the inside - looks just as I had hoped!
Tomorrow's task is to plane off the edges of the chipboard and seal the edges with bitumen tape. I'm not sure yet whether I will cover the whole lot lot with roofing felt before putting the oak shakes (which I havn't ordered yet).
The joints have been planed and covered with mastic tape
The sealed panel joints from the front
Now to fit the 6" x 1" oak facia boards.
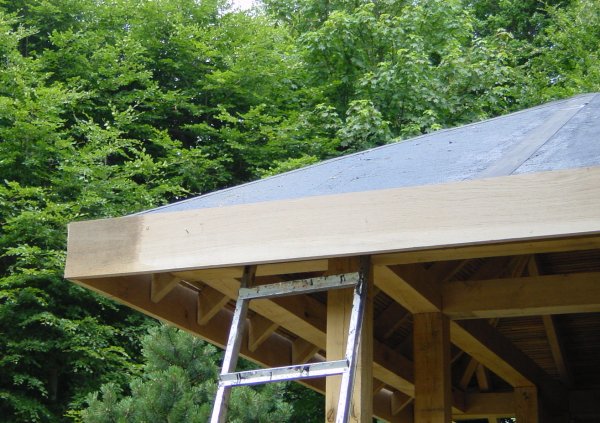
The side and back facia fitted temporarily
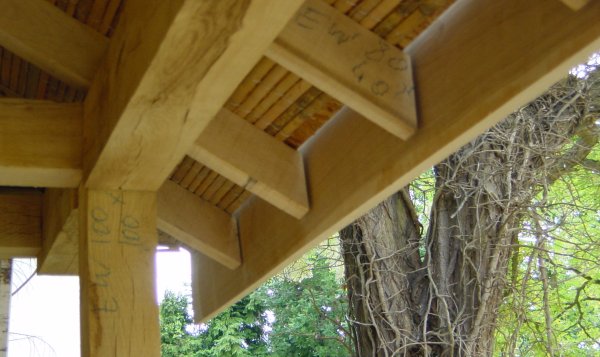
From the underside.
The facias completed ready for the oak shakes